GPT Image 2 for E-commerce: Product Shots, Lifestyle Scenes & Hero KVs
Treat the prompt as a production brief, not a keyword pile. Direction-based lighting, named materials and reserved copy space turn GPT Image 2 into a fast, on-brand product-photography pipeline.
Prompt like a brief, not a keyword pile
GPT Image 2's defining trait for commercial work is extreme prompt adherence: tell it the camera angle and it holds it; tell it what to leave out and it leaves it out. The flip side is that a vague request — "a nice photo of my product" — gets you a generic, flat result. The model gives back exactly as much structure as you put in.
So write the prompt as a production brief in a fixed order, a sequence that mirrors OpenAI's published prompting guidance: scene/background, then subject, then key details, then constraints. State the job explicitly — "an e-commerce hero image" or "a premium product ad" — because naming the use case sets the model's polish level and composition far better than adjectives like "beautiful" do.
A reliable skeleton: Subject + Environment + Lighting + Material + Composition + Purpose + Constraints. You will not use every slot every time, but thinking in slots stops you from dumping ten style words and hoping one sticks.
This also changes the economics of a shoot. Instead of producing five finished frames a day, you explore fifty directions — backgrounds, angles, moods — pick the winners, and only then invest in polish. The prompt is your brief; the model is a tireless first-pass photographer.
Backgrounds and lighting that don't read as fake
Pick the background to match the channel. Pure white (RGB 255,255,255) with the product filling about 85% of the frame is what marketplaces like Amazon expect. A light-grey seamless sweep reads more premium for a DTC brand. Lifestyle scenes need a real environment and natural light. Say which one you want — do not leave it to chance.
Lighting is where AI images fail fastest, and the fix is to give direction, not adjectives. "Soft dramatic lighting" means nothing to the model; a light vector does:
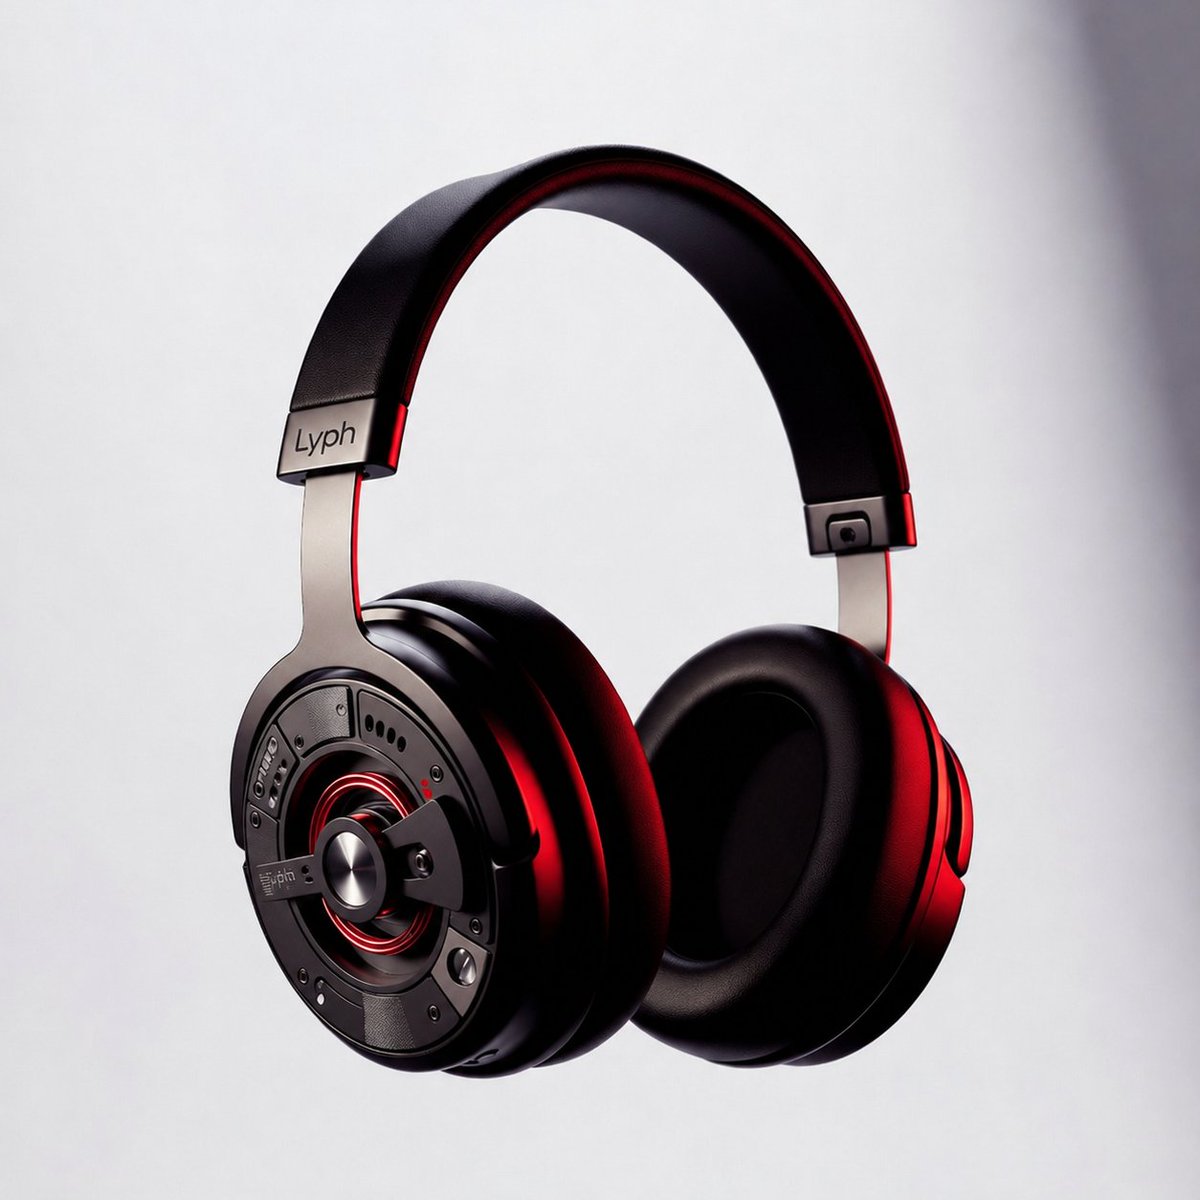
three-point lighting setup, strong key light from camera-left at 45 degrees, soft fill from the right, subtle rim light separating the product from the backgroundThose are real photographic terms the model has seen attached to real product shots, so they pull from the right part of its training distribution. Use a rim light to edge-light glossy tech, soft diffused light for skincare and cosmetics, and always name where the light comes from.
Killing the plastic look: materials, shadows, depth
The single biggest tell of an AI product shot is fake material. Name the material explicitly and the surface stops looking like injection-molded plastic:
- Metal: "visible brushed-metal grain, realistic metallic reflections"
- Fabric and bags: "realistic nylon texture, visible stitching and zipper detail"
- Food: "natural oil sheen, real surface texture, condensation droplets"
- Glossy items on dark sets: "crisp edges, subtle reflection underneath"
Ground the product so it does not float. A contact shadow is the cheapest realism upgrade there is: "subtle realistic contact shadow directly under the product." Then break the flat, pasted-on look by naming three depth layers — foreground product, mid-ground prop, softly blurred background — so the scene has actual space.
Hero KVs: reserve space for copy, lock the text
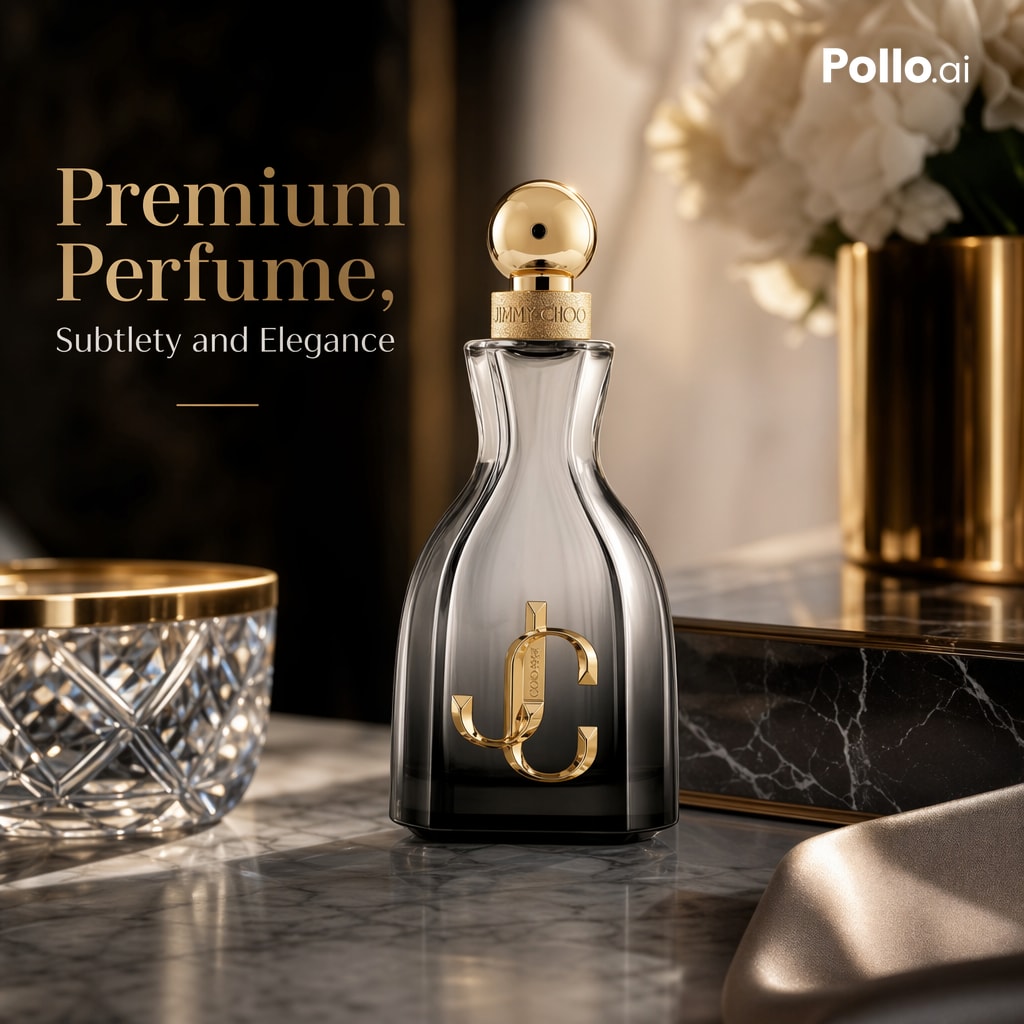
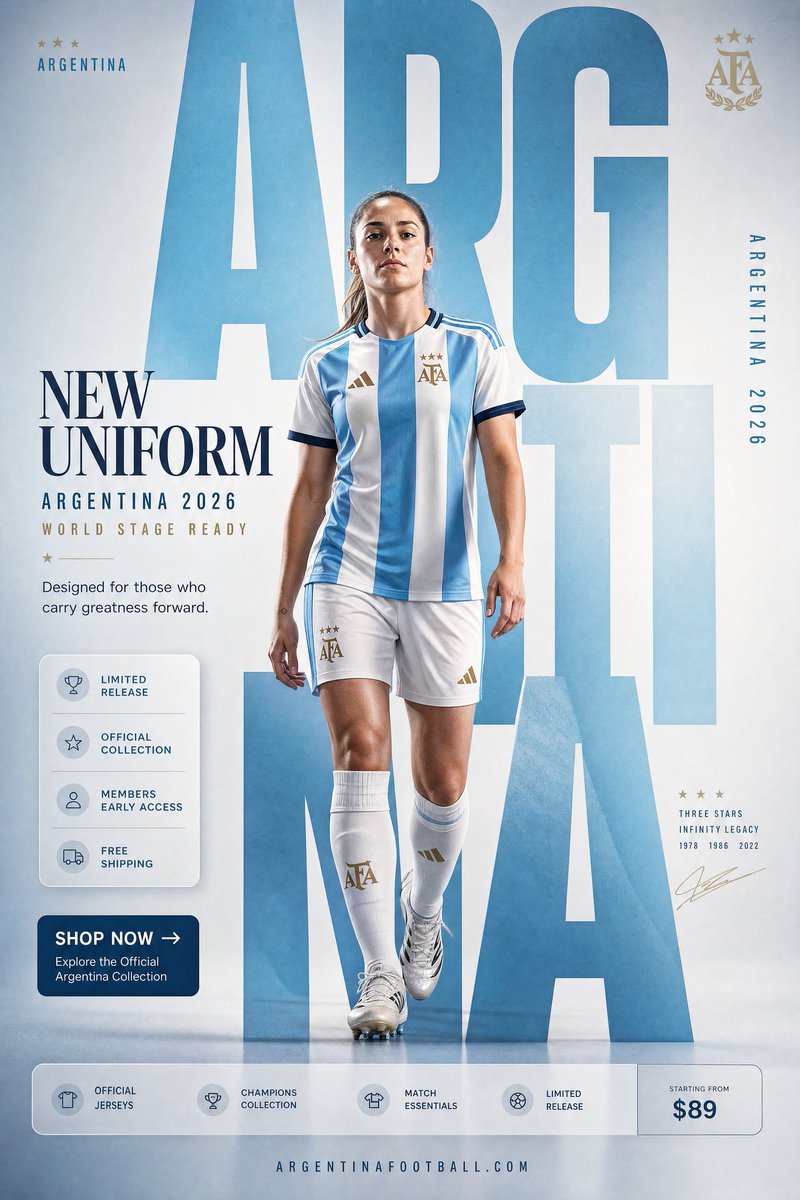
A hero KV (key visual) is a product shot built to carry a headline. Design that into the composition from the first prompt instead of cropping later: "product on the right, clean negative space on the left for a campaign headline."
GPT Image 2 can render real, legible text — a genuine leap over older models — but only if you lock it down. Put the exact copy in quotes, name each block's role, and forbid extras:
Headline (top-left, render verbatim): "SOUND YOU CAN FEEL". Subhead below it: "40-hour battery". No extra words, no duplicate text, no fake brand logo, no watermark.If text garbles, cut the word count, increase the size, and re-add "render verbatim, exact text only." For anything mission-critical, leave the text area empty in the generation and typeset the copy afterward in a design tool — that guarantees perfect spelling and kerning. (For text-dense layouts like data graphics, see our guide on infographics and text rendering.)
Three templates you can paste right now
Marketplace packshot — pure white, edges crisp:
A clean e-commerce packshot of [product], centered on a pure white seamless background (RGB 255,255,255). Keep the exact shape, proportions, branding, label text and material finish. Product fills ~85% of the frame. Soft diffused three-point studio lighting, subtle realistic contact shadow directly under the product. Straight-on angle, sharp crisp edges, realistic reflections on glossy surfaces. No props, no extra objects, no text overlay, no watermark, no distortion.Lifestyle scene — warm, lived-in, product stays hero:
A lifestyle e-commerce photo of [product] on a marble surface (foreground), a book and phone nearby (mid-ground), a softly blurred warm interior (background). Morning light from a left-side window, soft natural shadows. 35mm lens, eye-level, shallow depth of field. Keep the product design, branding, proportions and material exactly; the product remains the hero. Minimal, editorial, believable lighting. No clutter, no text.Hero KV with headline — 16:9, copy space reserved:
A premium e-commerce hero KV for [product] on a concrete plinth, 16:9, product on the right with clean negative space on the left. Headline (verbatim): "[YOUR HEADLINE]". Subhead: "[short benefit]". Render all text verbatim, perfectly legible, no extra words, no duplicate text. Dramatic rim light, sharp product edges, subtle clean contact shadow, luxury campaign style. Preserve product shape, label text, color and material exactly. No fake brand logo, no watermark.Swap only the bracketed lines and the look stays consistent across a whole catalogue — the same locked-template idea behind reference-image workflows.
Pitfalls — and where a real shoot still wins
Most failure modes have a one-line fix:
- Plastic surfaces: name the material and add "realistic texture, real imperfections".
- Flat, dull light: give a light direction and a real lighting setup, never just "cinematic".
- Garbled or duplicated text: fewer words, bigger size, quotes plus "render verbatim, no extra words".
- Floating product: "subtle contact shadow directly under the product".
- Drift when editing: "change only X, preserve everything else exactly" and lock the camera angle.
- Logo or trademark risk: design with a fictional but legible brand mark, then composite the real logo later.
Be honest about the limits. GPT Image 2 is superb for concept exploration, A/B-testing creative, and catalogue and lifestyle imagery. But detail-critical categories — jewellery facets and metal reflections, electronics with ports and screens, textiles with weave and drape — still trip it up, and luxury hero frames are often best shot for real or finished by a retoucher. Use the model to move fast and cover volume; reserve the camera for the few frames where every pixel is scrutinised.
Ready to try it? GPT Image 2 on this site is free to start — 20 credits on sign-up, no card required. Generate your first product shots on gpt-img2.com, and when you scale up, top-up credits run at roughly half of OpenAI's official image price. Browse e-commerce prompt examples.
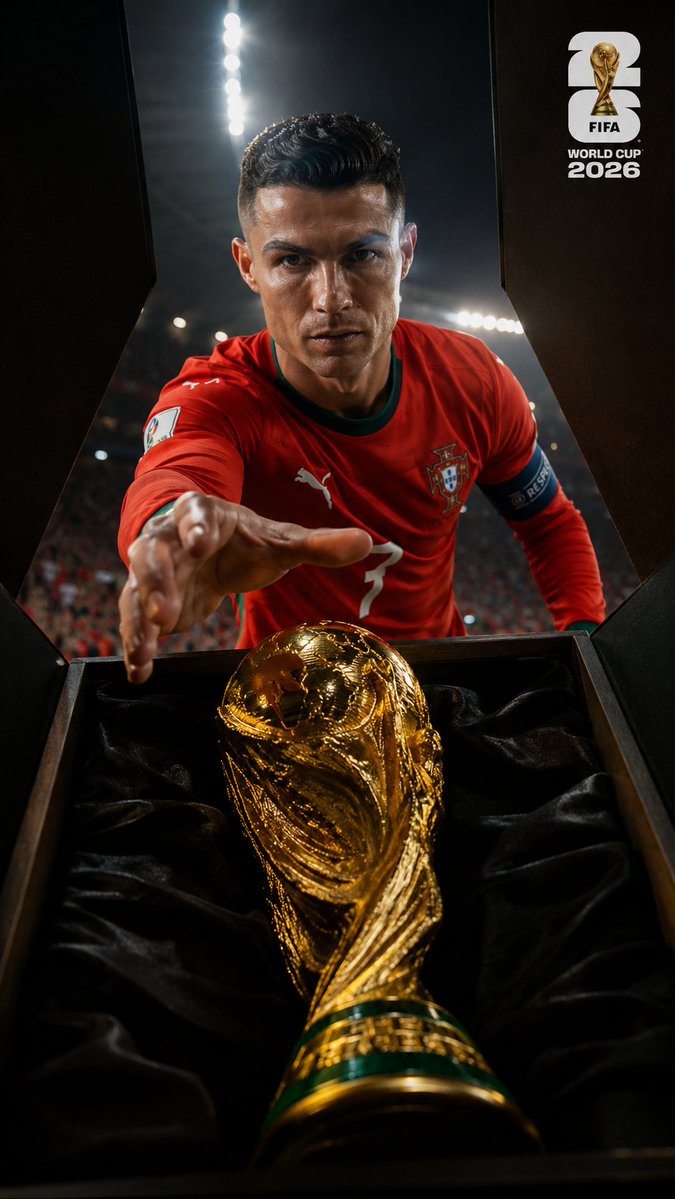
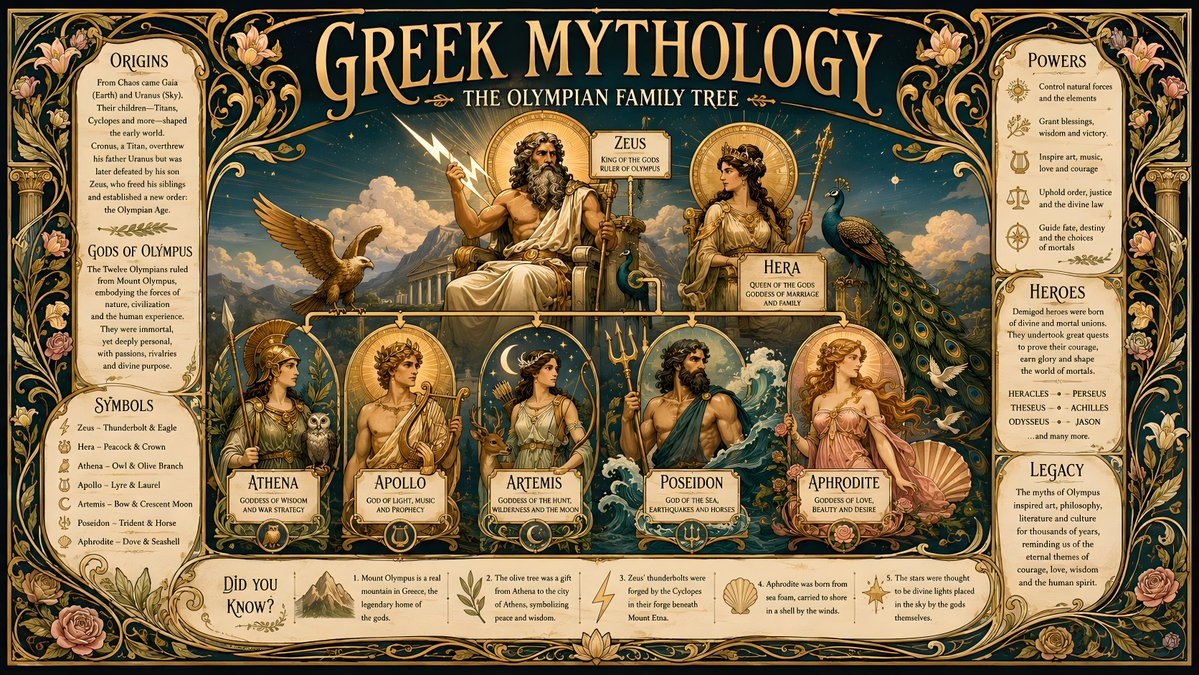
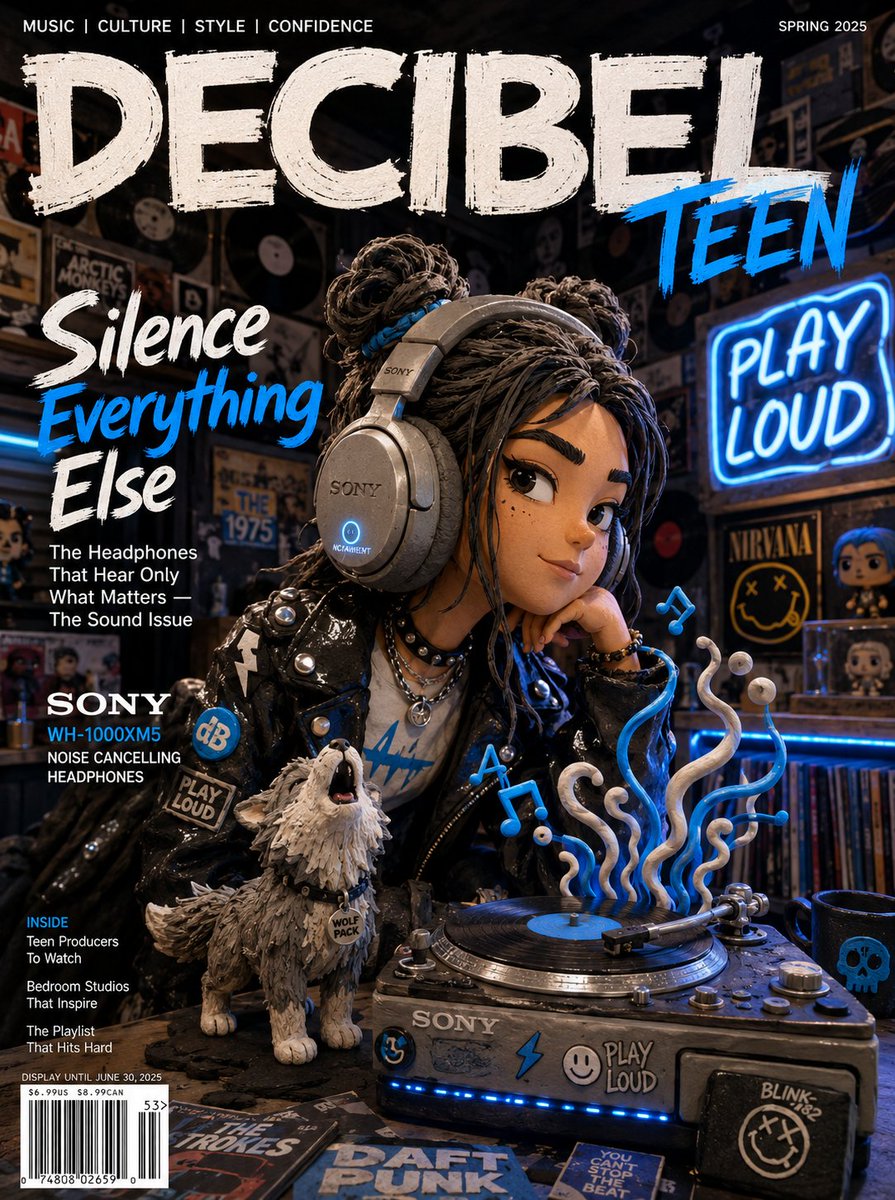
Try these GPT Image 2 prompts
Try these techniques now
Open the free GPT Image 2 generator and put this into practice — 20 free credits, no credit card.