Workflows·8 分钟阅读
GPT Image 2 分镜、网格与多格生成实战
参考图锚定 + 格数控制 + 跨格一致性——把一张图变成完整分镜板的实操。
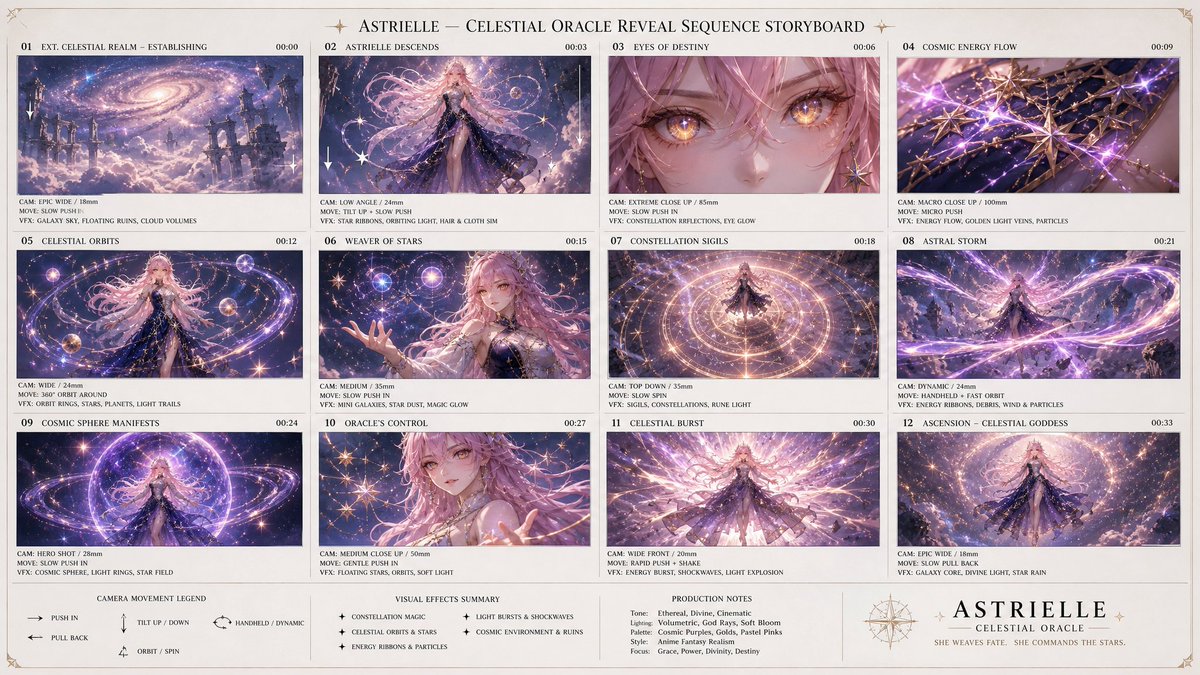
为什么网格难做(以及为什么它依然有效)
要求「一个 9 格分镜」听起来像是要九张图,但 GPT Image 2 是一次性把整个网格画出来的。这就是诀窍:每一格都是一起采样的,所以它们会自动共享光照、角色和风格——这是九次单独生成几乎做不到的。
失败点不在一致性,而在控制。一旦含糊,模型会自己编出格数、阅读顺序和裁剪方式。prompt 的任务就是钉死网格骨架,让模型只需填充内容。
参考图锚定的网格
最强的版本从一张基础图出发,要求网格是它的变体,而不是全新创作。这样每个格子里的主体都保持一致。
Using the provided reference image, create a 3×3 storyboard grid. Every panel features the SAME subject from the reference (identical face/product, identical styling). Keep one consistent cinematic color grade across all 9 panels. Vary only camera angle and action per panel: 1) wide establishing shot, 2) medium shot, 3) extreme close-up detail, 4) over-the-shoulder, 5) low angle, 6) high angle, 7) profile, 8) action/motion, 9) hero beauty shot. Thin neutral gutters between panels, no text labels.「每一格都呈现同一个主体……只变化机位」是承重指令。没有一份明确的九镜清单,模型会重复两三个想法,剩下的凑数。
控制格数与版式
GPT Image 2 对显式几何的遵循远好于隐含的数量。要说得直白:
- 写明行 × 列,不要只给总数(「6 格的 2×3 网格」胜过「6 格」)
- 定义阅读顺序(「从左到右,从上到下」),否则模型可能打乱次序
- 指定格间距和比例(「细白格间距,每格 1:1」)以防各格糊在一起
- 如果需要标签,明确要求并说明位置(「每格下方一条小标题栏」)——否则要么没有,要么是乱码文字
产品广告分镜(商业工作流)
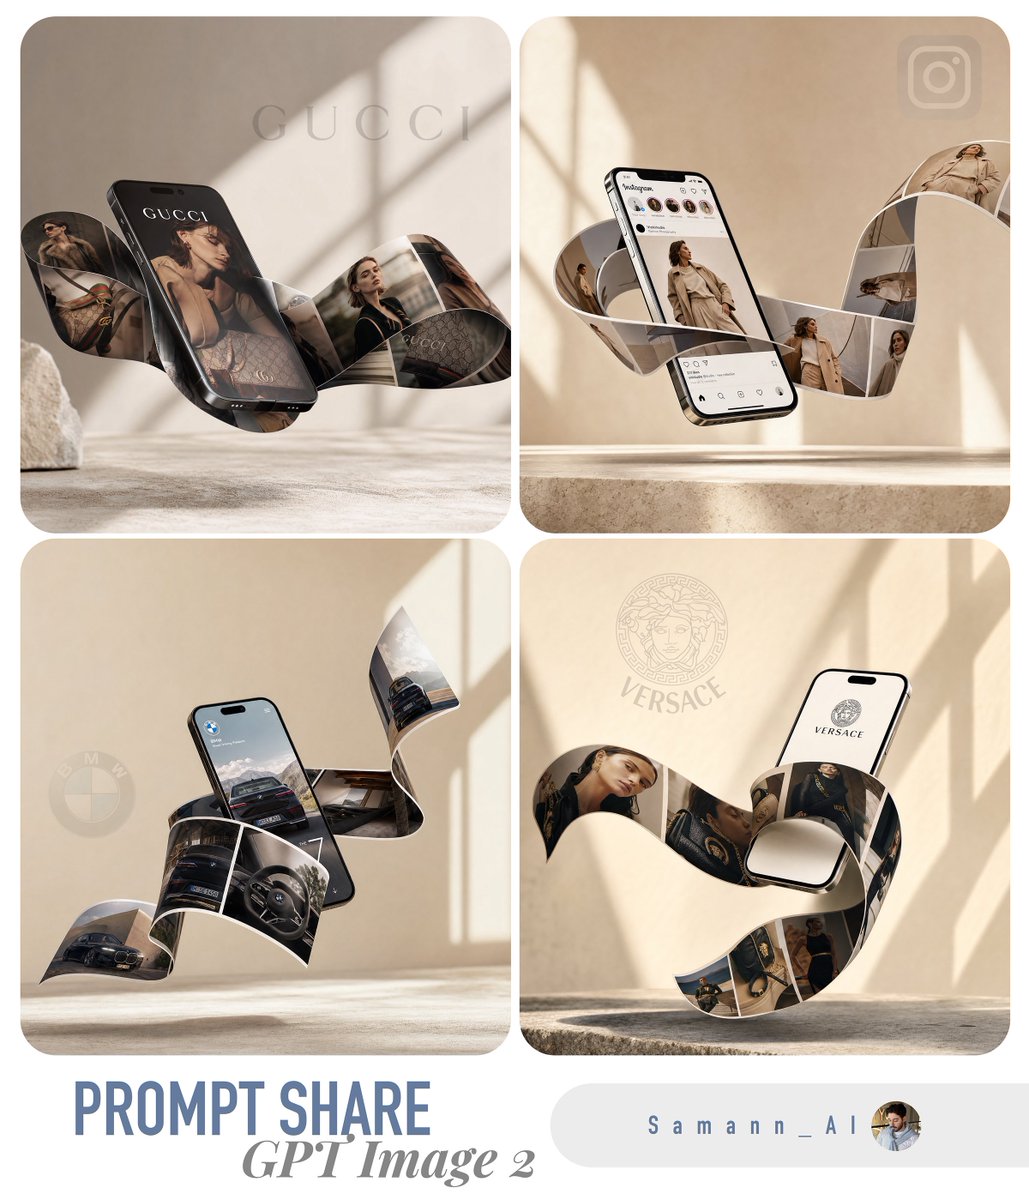
这是许多电商 prompt 案例背后的技术:一张产品图变成一份完整的 TVC 镜头清单。把干净的产品作为参考图喂进去,要求一份带编号的广告分镜。
Using the provided product photo, build a 9-panel commercial storyboard for a 15-second ad. Keep the product 100% identical in every panel (shape, label, color — do not redesign). Panels: 1) lifestyle establishing scene, 2) product hero on surface, 3) macro texture/detail, 4) in-use by a hand, 5) key feature callout, 6) social/lifestyle moment, 7) size/scale reference, 8) packaging shot, 9) brand close with the product as hero. Warm premium lighting, shallow depth of field, consistent set throughout. Small scene number in each panel corner.保持跨格一致性
即便是一次性生成,长网格到最后一行也可能漂移。三种加固有帮助:在 prompt 接近结尾处重复锁定短语(「同一个产品/角色」);把格数封顶在 9(超过之后每格质量急剧下降——改为拆成两个网格);如果某一格出错,用网格本身作为新参考图重新生成,并只要求修那一格。
常见翻车与修法
- 各格无间距糊在一起 → 明确要求「每格之间留清晰的细间距」
- 模型自己编出不同格数 → 写明确切的行 × 列并在 prompt 里给格子编号
- 主体到第 7–9 格漂移 → 使用参考图,并在 prompt 靠后处重复同主体锁定
- 标题文字乱码 → 要么省略标签,要么要求非常短、位置明确的标题
- 12 格以上质量变薄 → 封顶在 9;额外镜头作为共享同一参考图的第二个网格生成
Try these GPT Image 2 prompts